
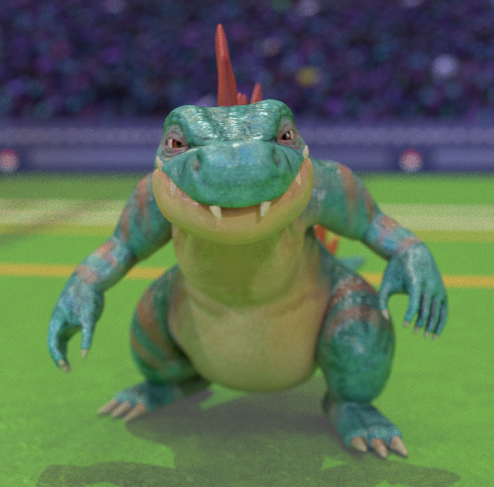
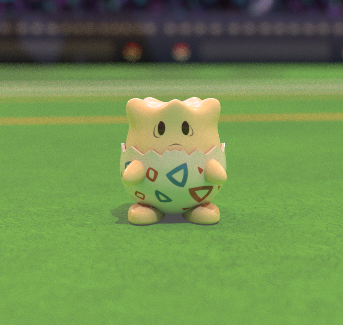
Overview
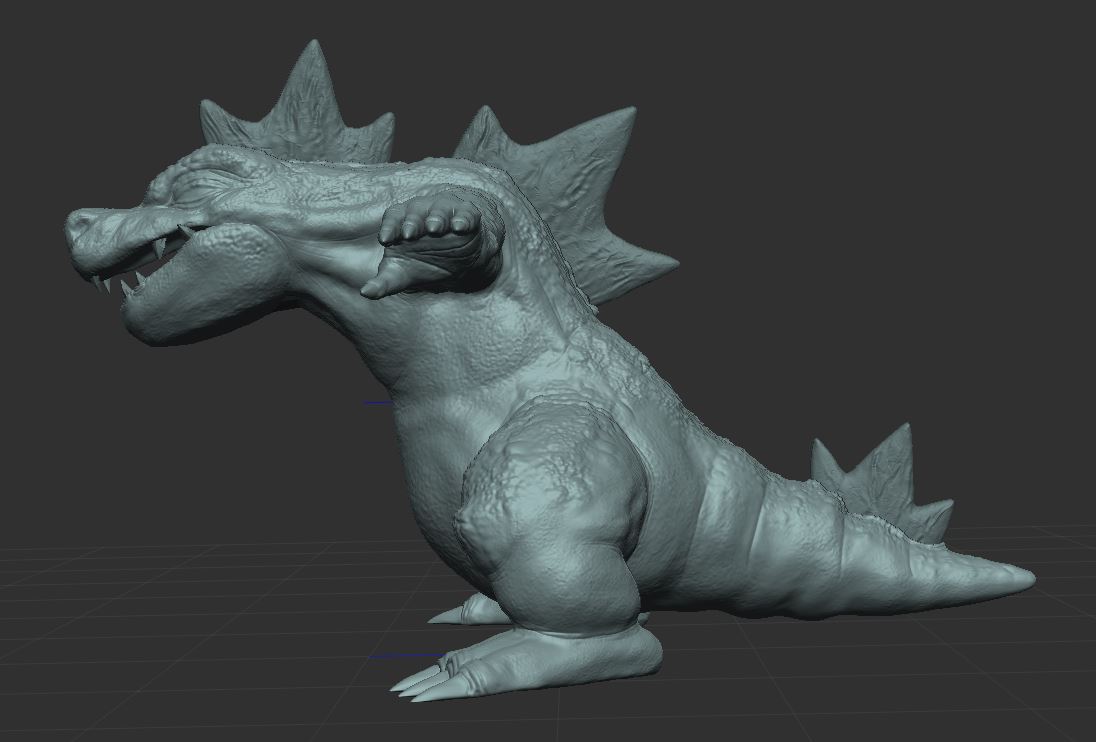
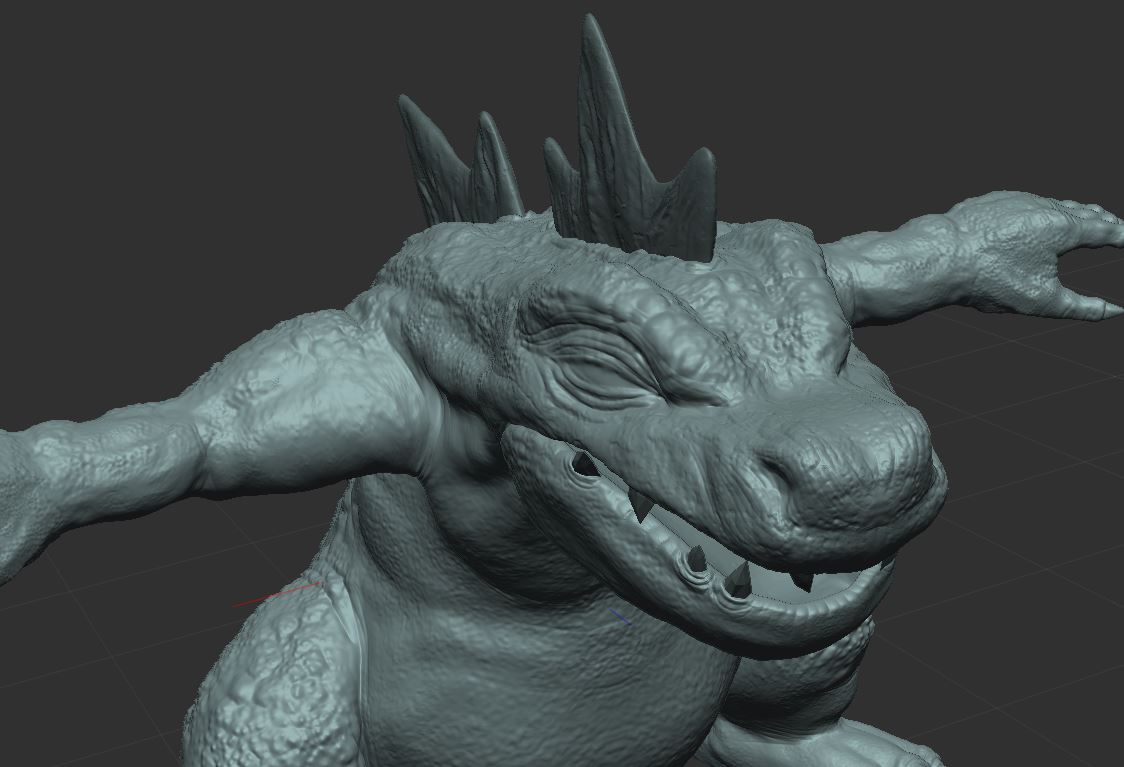
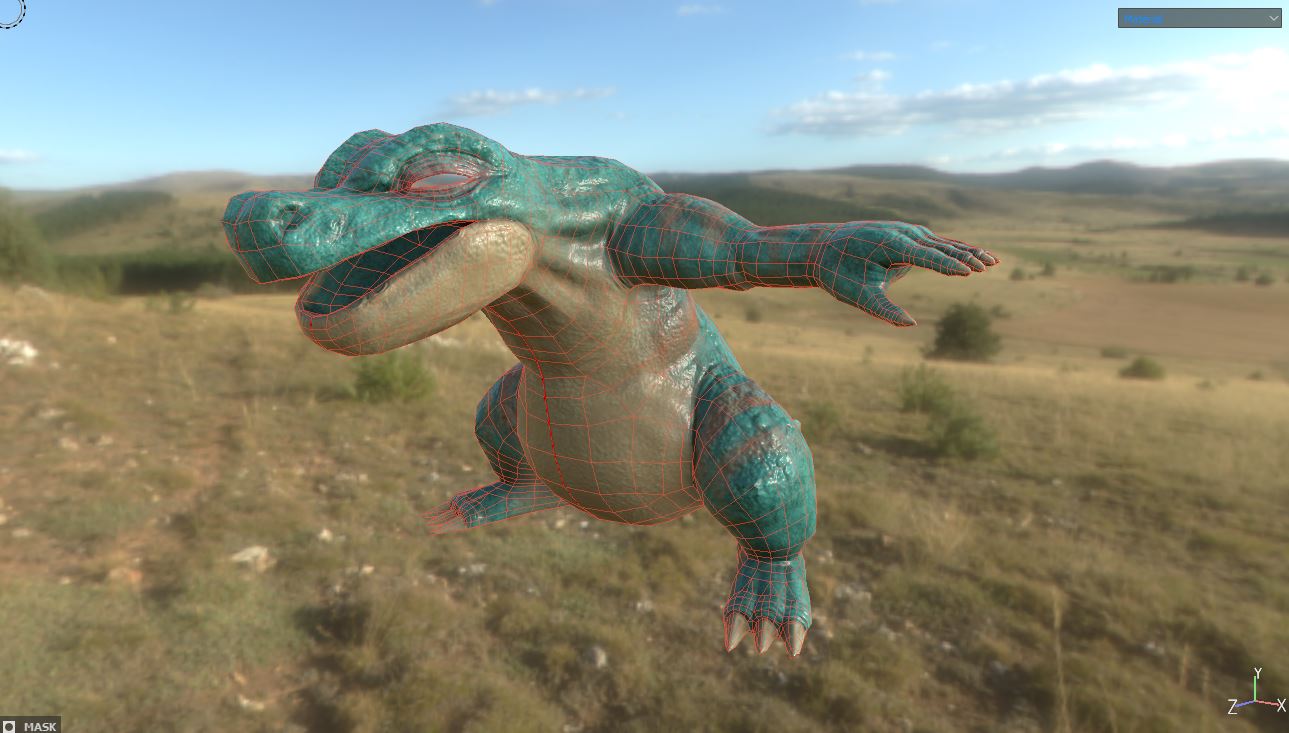
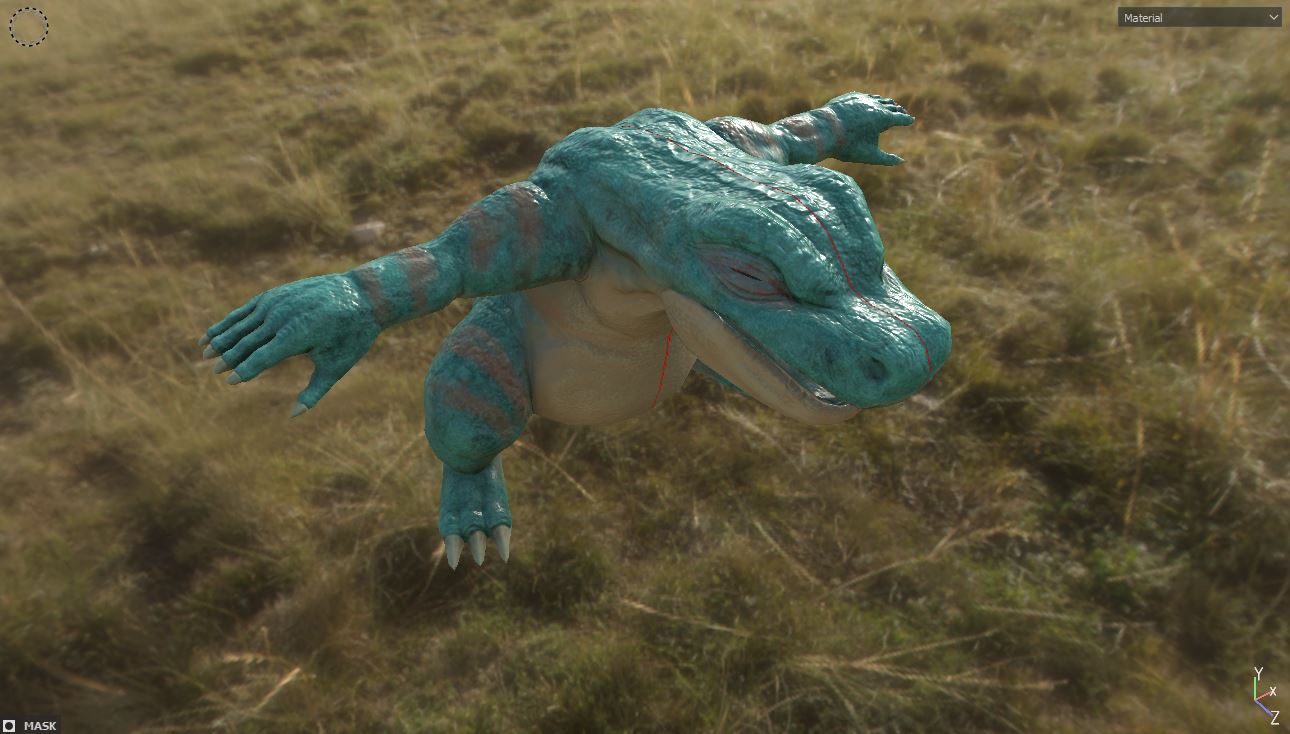
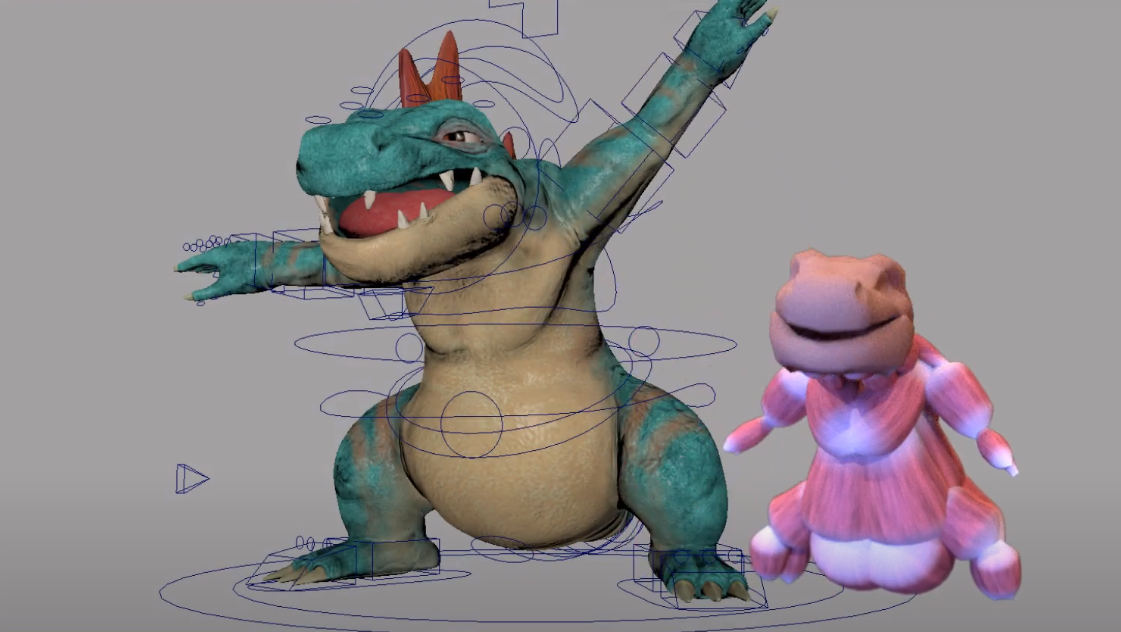
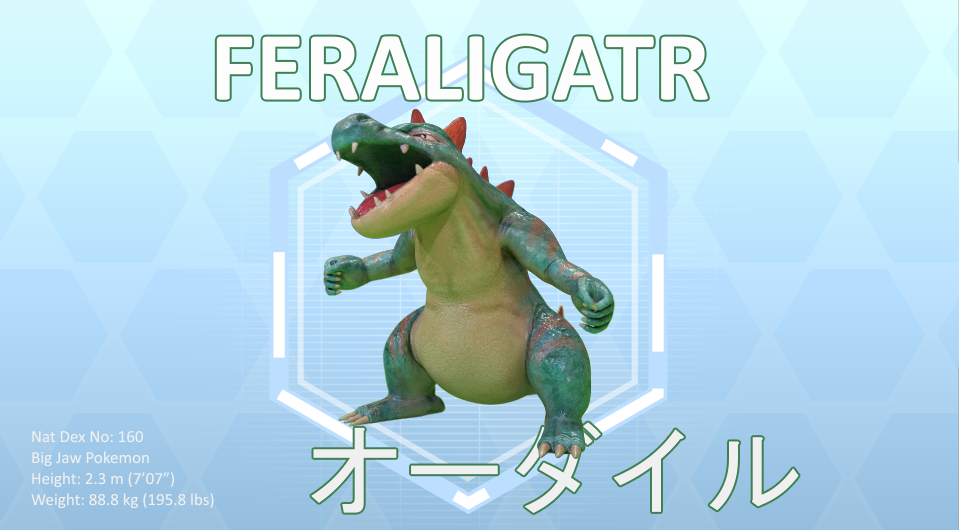
I was interviewing for a lot of new jobs at once, two of which were Niantic and Visual Concepts. I wanted to put together some more work on my reel that would be relevant to them so I picked a character that was 1) a Pokemon obviously and 2) showed use of a muscle system that might be relevant to characters in NBA2K. Not that Maya’s muscle would be directly related to game engines, but decided on something muscular nonetheless. After I built the rig I had some time left so I built some environment and lighting and did an animation.
Drag Left/Right to Spin
Resources
I honestly had a heck of a time building out the muscles with the default system in Maya, so I can’t recommend it as a solution at this point. Next time I need muscles, I will be looking for 3rd party solutions. However, here is the tutorial series I learned from: https://www.youtube.com/watch?v=tBl44b9ndaI
New Ground
- First time using a muscle system to deform instead of blend shapes.
- First time using Arnold renderer. Hadn’t lit or rendered anything for at least ten years, at which time it was all Mental Ray for me.
- Learned to use a render farm, and the pitfalls of making sure the muscle cache is uploaded.
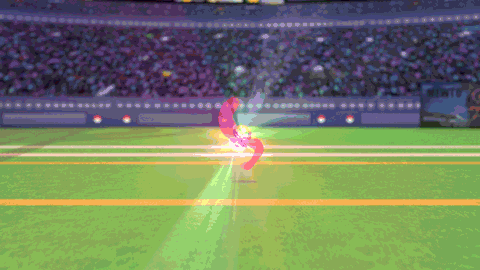
- Bifrost fluid simulation for the dust when togepi runs away.
Mistakes/Lessons Learned
- RENDERING… As I was lighting the scene at low quality and half res, frame renders were looking like 45 seconds each. I figured I could manage rendering all my layers in time for the presentation if the render time reached 3 minutes per frame, and just accept whatever quality that ended up being. Welp, it ended up being a consistent 15 minutes per frame. I managed to get it down to 10 minutes per if I lowered a lot of the settings. But those settings didn’t look great and I had already spent a serious amount of time on this project. 10 minutes per frame was barely going to cut it anyway, and leave me almost no time for comp and editing. 15 per was literally more time than I had until the presentation. So I rented out a renderfarm in China to knock it out in a night on 200 cores. I would recommend them. https://www.foxrenderfarm.com/ Their customer service was very quick. The rates looked reasonable compared to other render farm services but as you can see below, it was EXPENSIVE. All in all, it cost me almost 340 bucks to get it rendered in time. I clearly really wanted either of those jobs. Ultimately both worked out with both Niantic and Visual Concepts, and I loved both teams, but decided on VC. At the time of writing this, I start next week and am really looking forward to it.

- Using Maya’s default muscle system… Nah, a poor workman blames his tools. But jeez I had a hard time with this one. My medium complexity setup quickly ballooned into a barely manageable set of muscles. There were just so many controls in each muscle’s setup. Each of which is really a rig in itself. It was very difficult to manage groups for the muscles and edit the shapes and positions. Setting muscle shapes for the extremes led to results that were very easy to make look wonky at their in-betweens. I had some really odd problems skinning muscle weights. If I ever smoothed or weight hammered any of those layers, it would put influences onto dozens of other muscles and I ended up not being able to erase those influences. Mirroring the muscles didn’t work properly. Some of the controls remained in an odd orientation, and I ended up having to eyeball a lot of the positions just to get it done. Lastly, it was really difficult to make sure that the render farm had the correct cache. I don’t have any tips on how to make sure of that other than just doing many test renders. At one point it seemingly just started working, and I’m not sure what I did to get it to actually come through. And speaking of caches, I had many problems trying to clear out my local cache, leading to a lot of crazy shaking and having to reload the file.

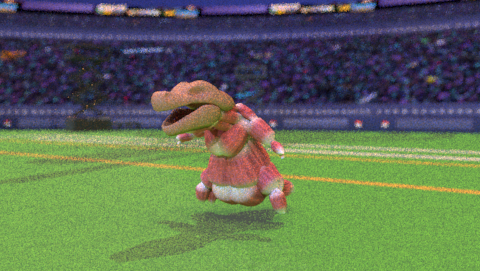


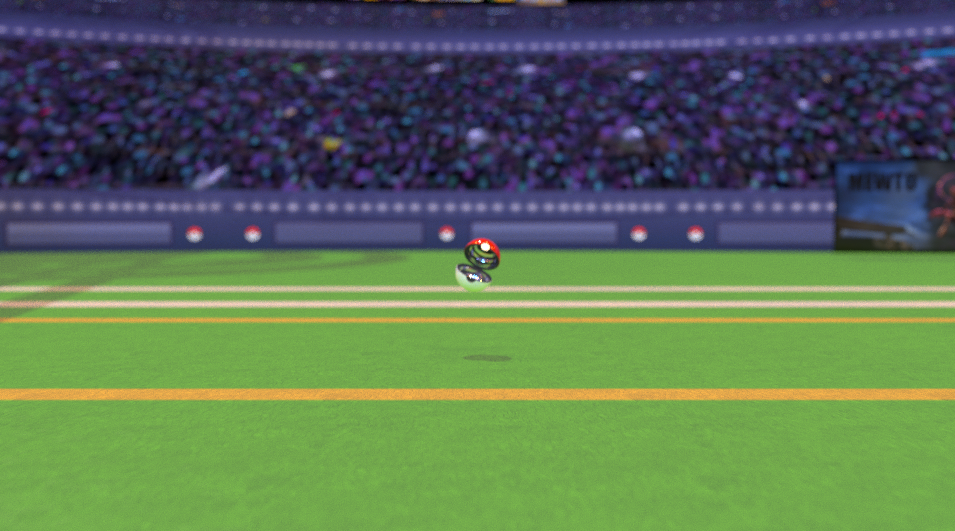
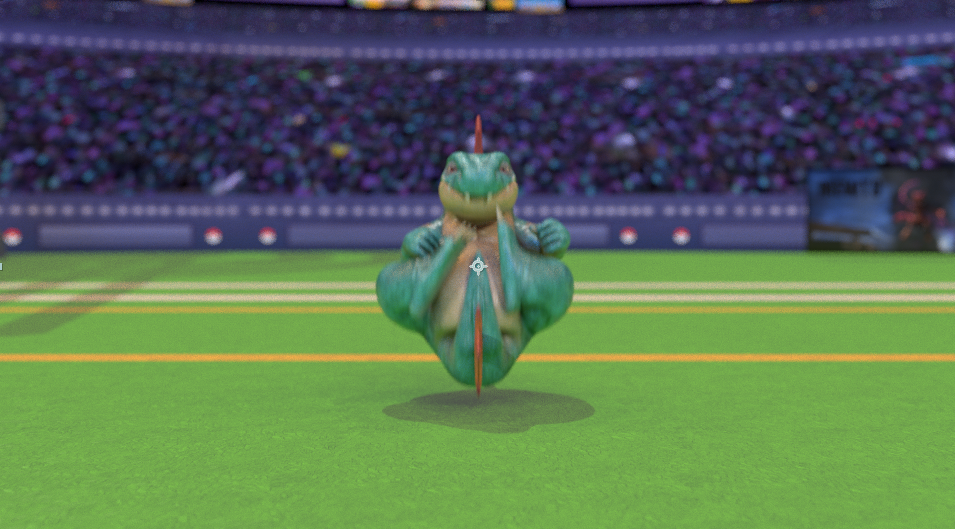
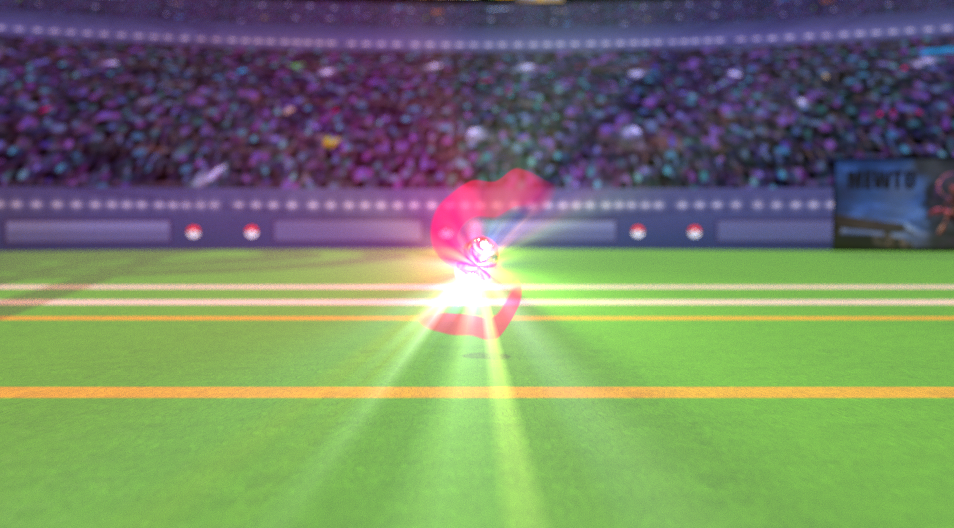
Pokeball Effect
To create the effect for feraligatr coming out of the ball, it started with locking down the animation first. I really wanted to make his rolling feel like a continuation of the rotation of the pokeball. Next, I rendered a few different passes for the frame range in which it is appearing:


Leave a Reply