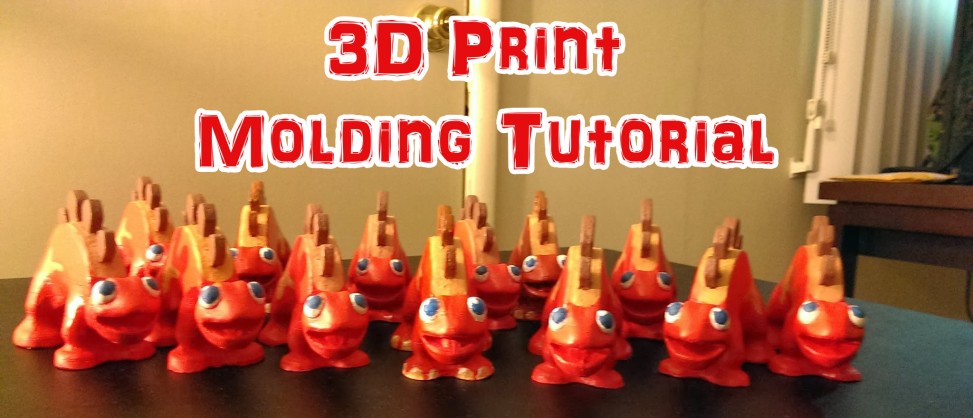
This is a tutorial on how to create a two part silicone mold and cast objects out of resin.

My general workflow was to take the 3d model from the game, 3d print it, make a silicone mold, and cast in resin. The 3d print on medium quality took 5 hours to print. It is also hollow and light. Not great for a final product. Casting the resin, I could take it out of the mold in 15 minutes. But there were definitely some preparations needed before I could cast it:
- First was filling in the feet – In the picture below, the feet are separated with concave surfaces in between each leg. This would require a more complicated mold – potentially more than two parts. The bottom of this page has a good explanation of types of objects requiring different molds: http://www.tapplastics.com/product_info/mold_making_guide In my 3d modeling software Maya, I added geometry in between the feet to fill it in, allowing me to do a simple two part mold.

See the gaps between the feet that are filled in in the final toy?
- There were also various problems with the in game model that needed to be prepped for 3d printing. First, it was very low polygon as it is a mobile game. I added edge loops to keep the detail where I wanted such as sharp edges on spikes and keep contours on eyebrows etc. Then I smoothed it, setting the continuity to .5 or so to keep it from losing too much form. I also increased the size of the spikes and feet – always a good idea to make smallish details bigger for 3d printing. Also, the game model had holes in the head behind the eyes and it turned out to ruin the head area of the print because Makerware couldn’t figure out how to resolve it. You can use multiple meshes with most 3d printers, but be sure they are water-tight.
- Lastly, my Makerbot Replicator 2 is great and it one of my favorite tools, but it is still relatively low res in comparison to the $75k range. I needed to go over it very very thoroughly with my dremel to smooth out the print grooves. I also use filler primer and wet sanding in multiple layers to fill in gaps. Once you do that and think it’s smooth enough, SMOOTH IT SOME MORE! Silicone picks up every detail. And I mean every detail.
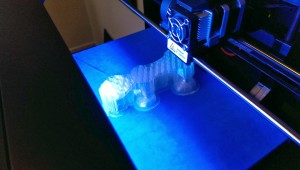
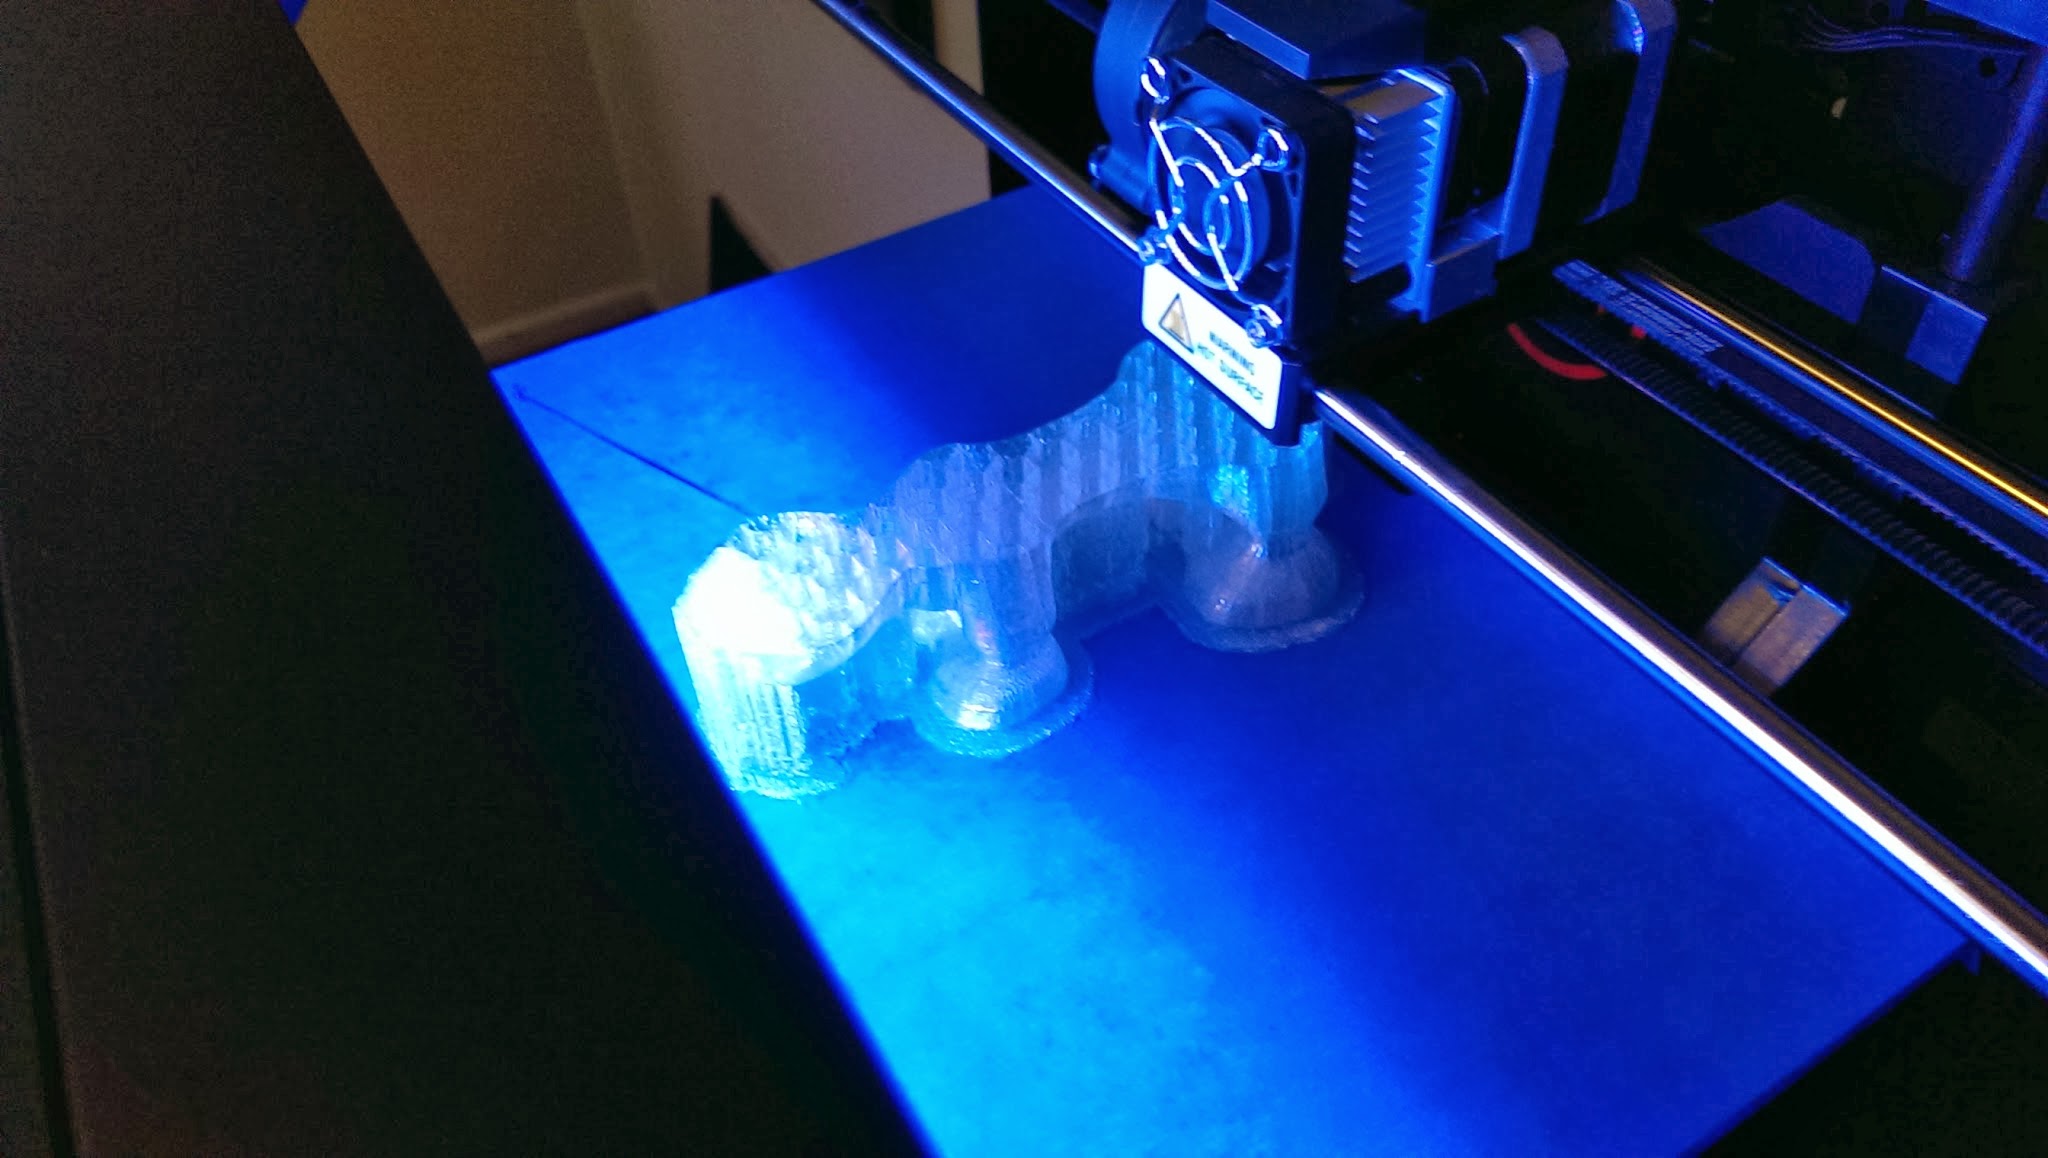
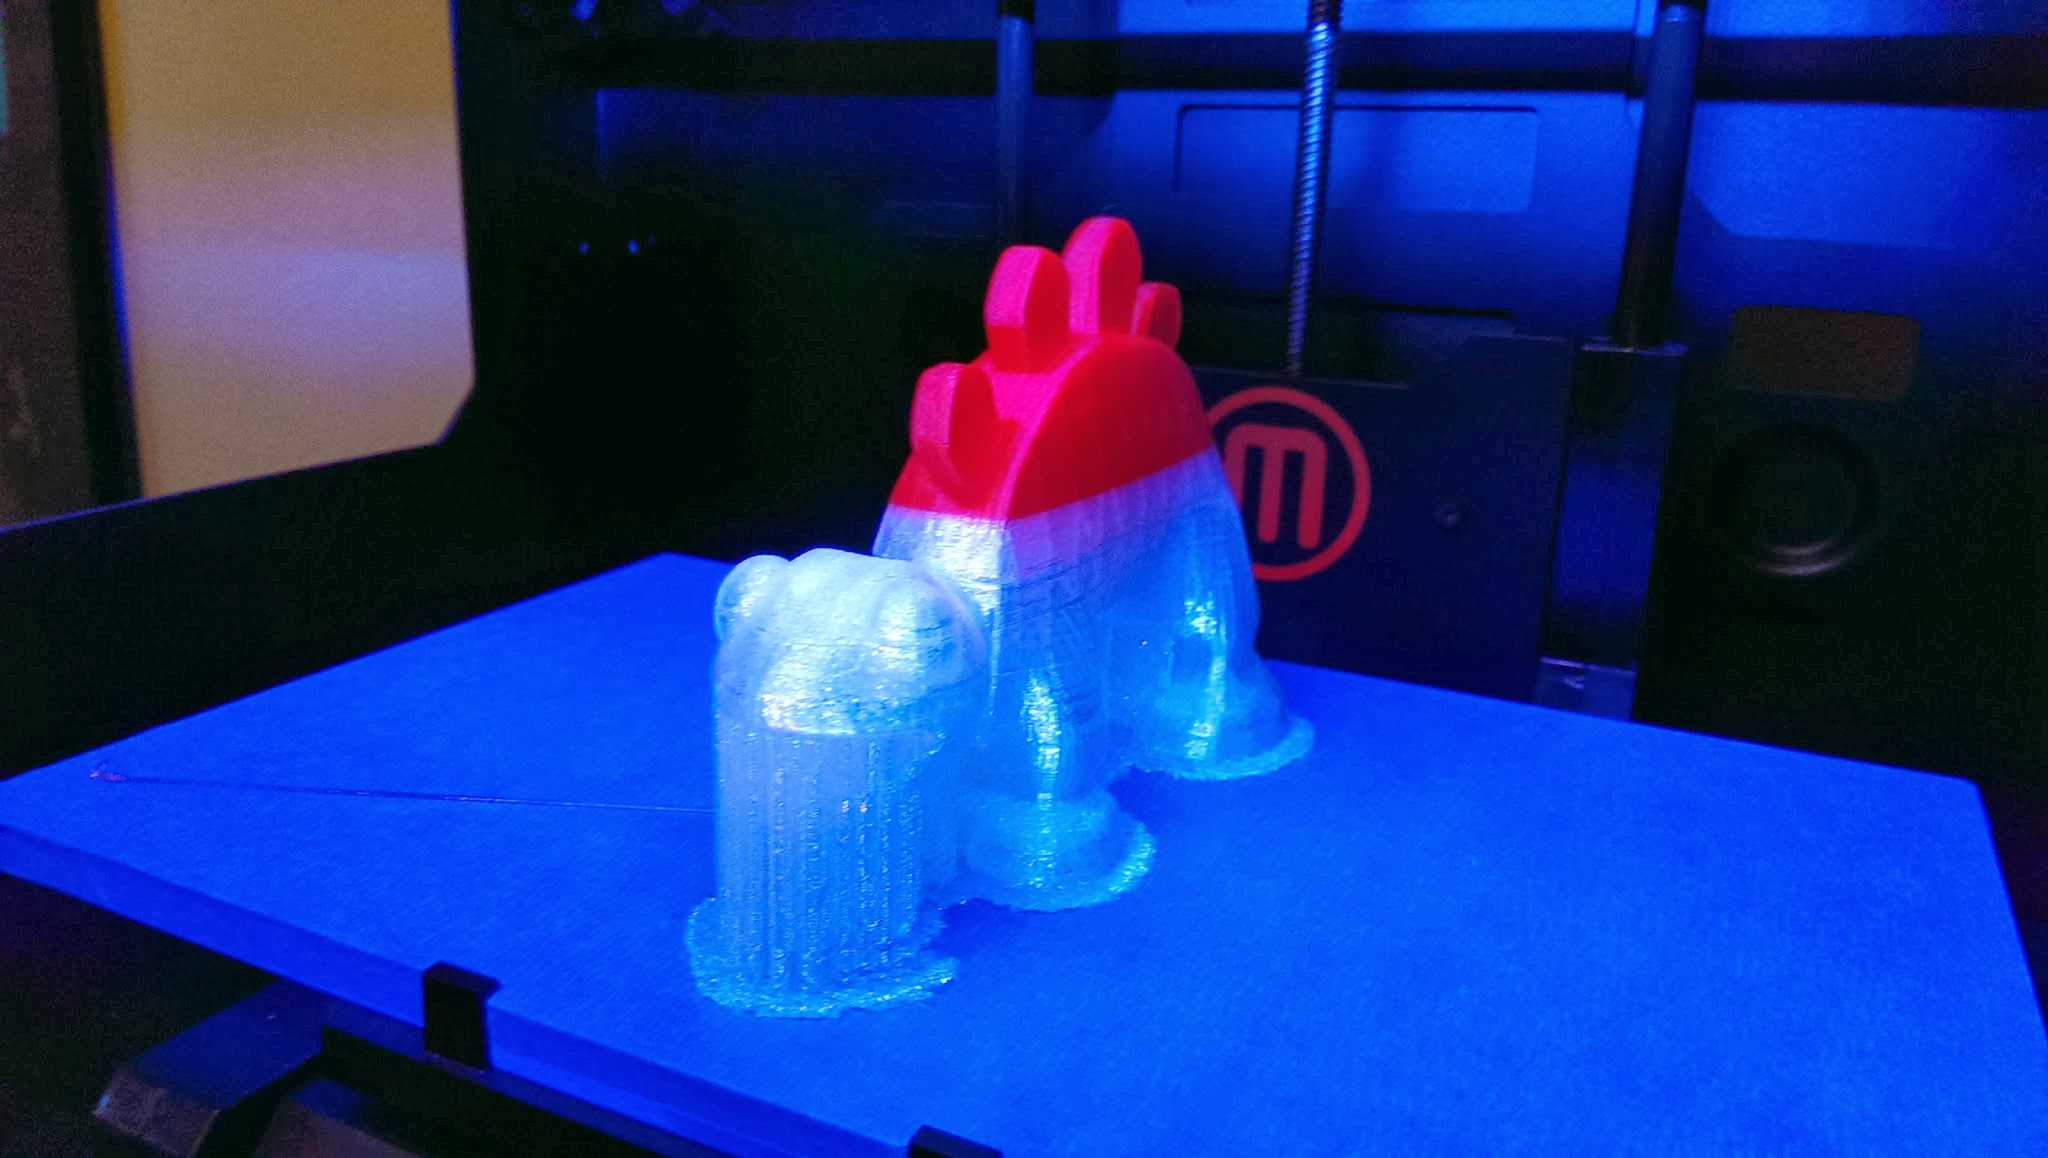
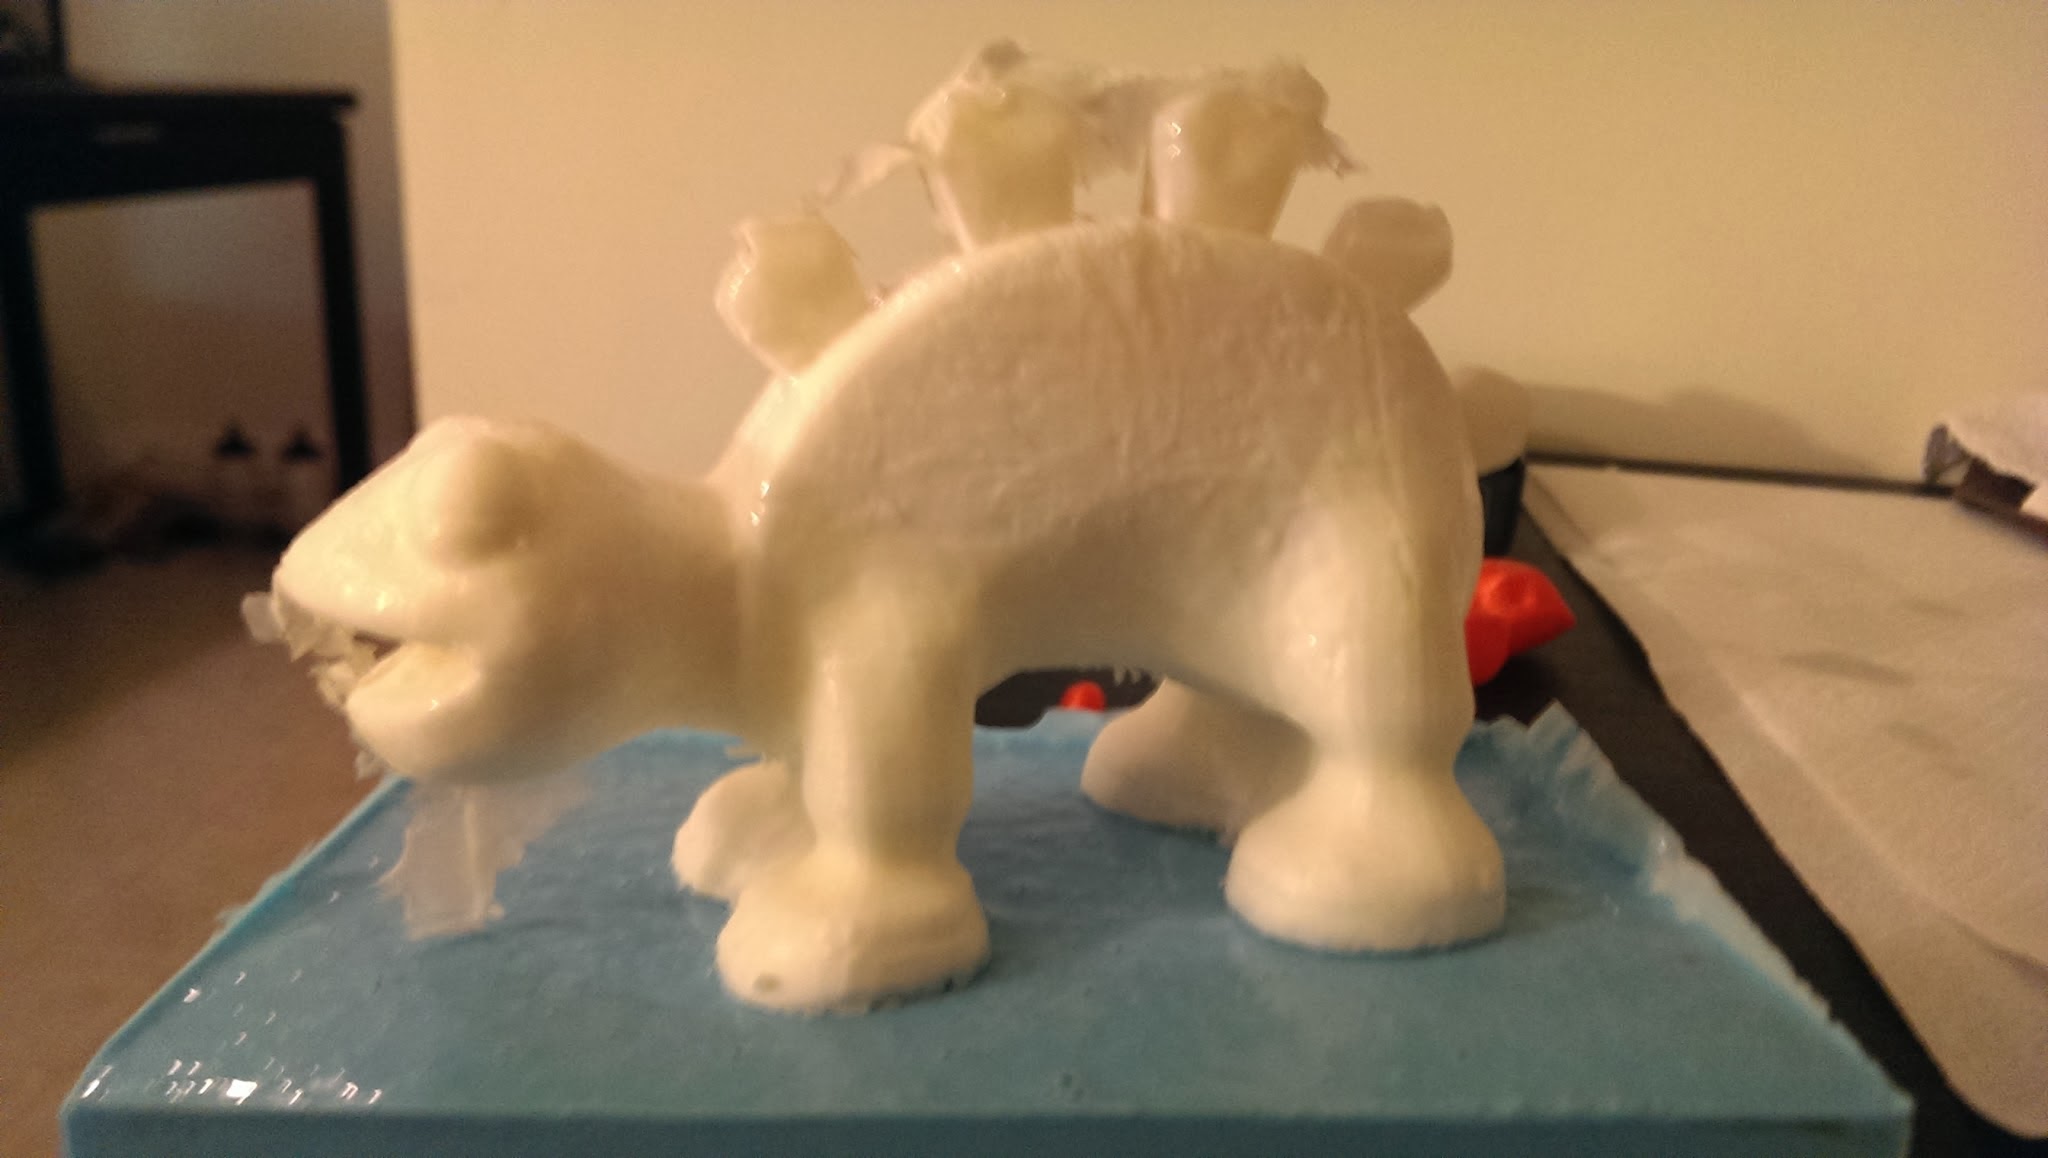
Printing the original – the color change is simply because I ran out of clear and switched to red.
Next came the process of creating the mold. Here is a great video on how to make a silicone mold. Be sure to watch part one as well. I bought some silicone from my local plastics store, Reynolds Advanced Materials. I use Mold Max 14nv for the molds. The material is sturdy and pretty bubble free.
But the biggest thing I learned was DO IT RIGHT AND TAKE YOUR TIME. This stuff is relatively expensive and you don’t want to waste it. Always measure with a scale unless the material is meant to be mixed by volume. (14nv is mix 1:1 by volume)
To make the two part mold, first we measure out some foam core to make a box around our object. I decided the feet were convenient pour holes. I filled one side with SULFER FREE clay. Be sure to make the edges here very clean against the model and that there are no gaps for the silicone to go through either the clay or the foam box. You can never use too much glue gun!
Also, poke the clay with a sharpee or embed something in there – this creates registration points to help match up the two sides of the mold. Another tip to reduce clay needed is to pad the bottom with foil so you don’t have to use a ton of clay. Just ask for ‘Klean Klay’. The brand no longer exists, but the same stuff is everywhere and your plastics seller should know what you’re talking about.
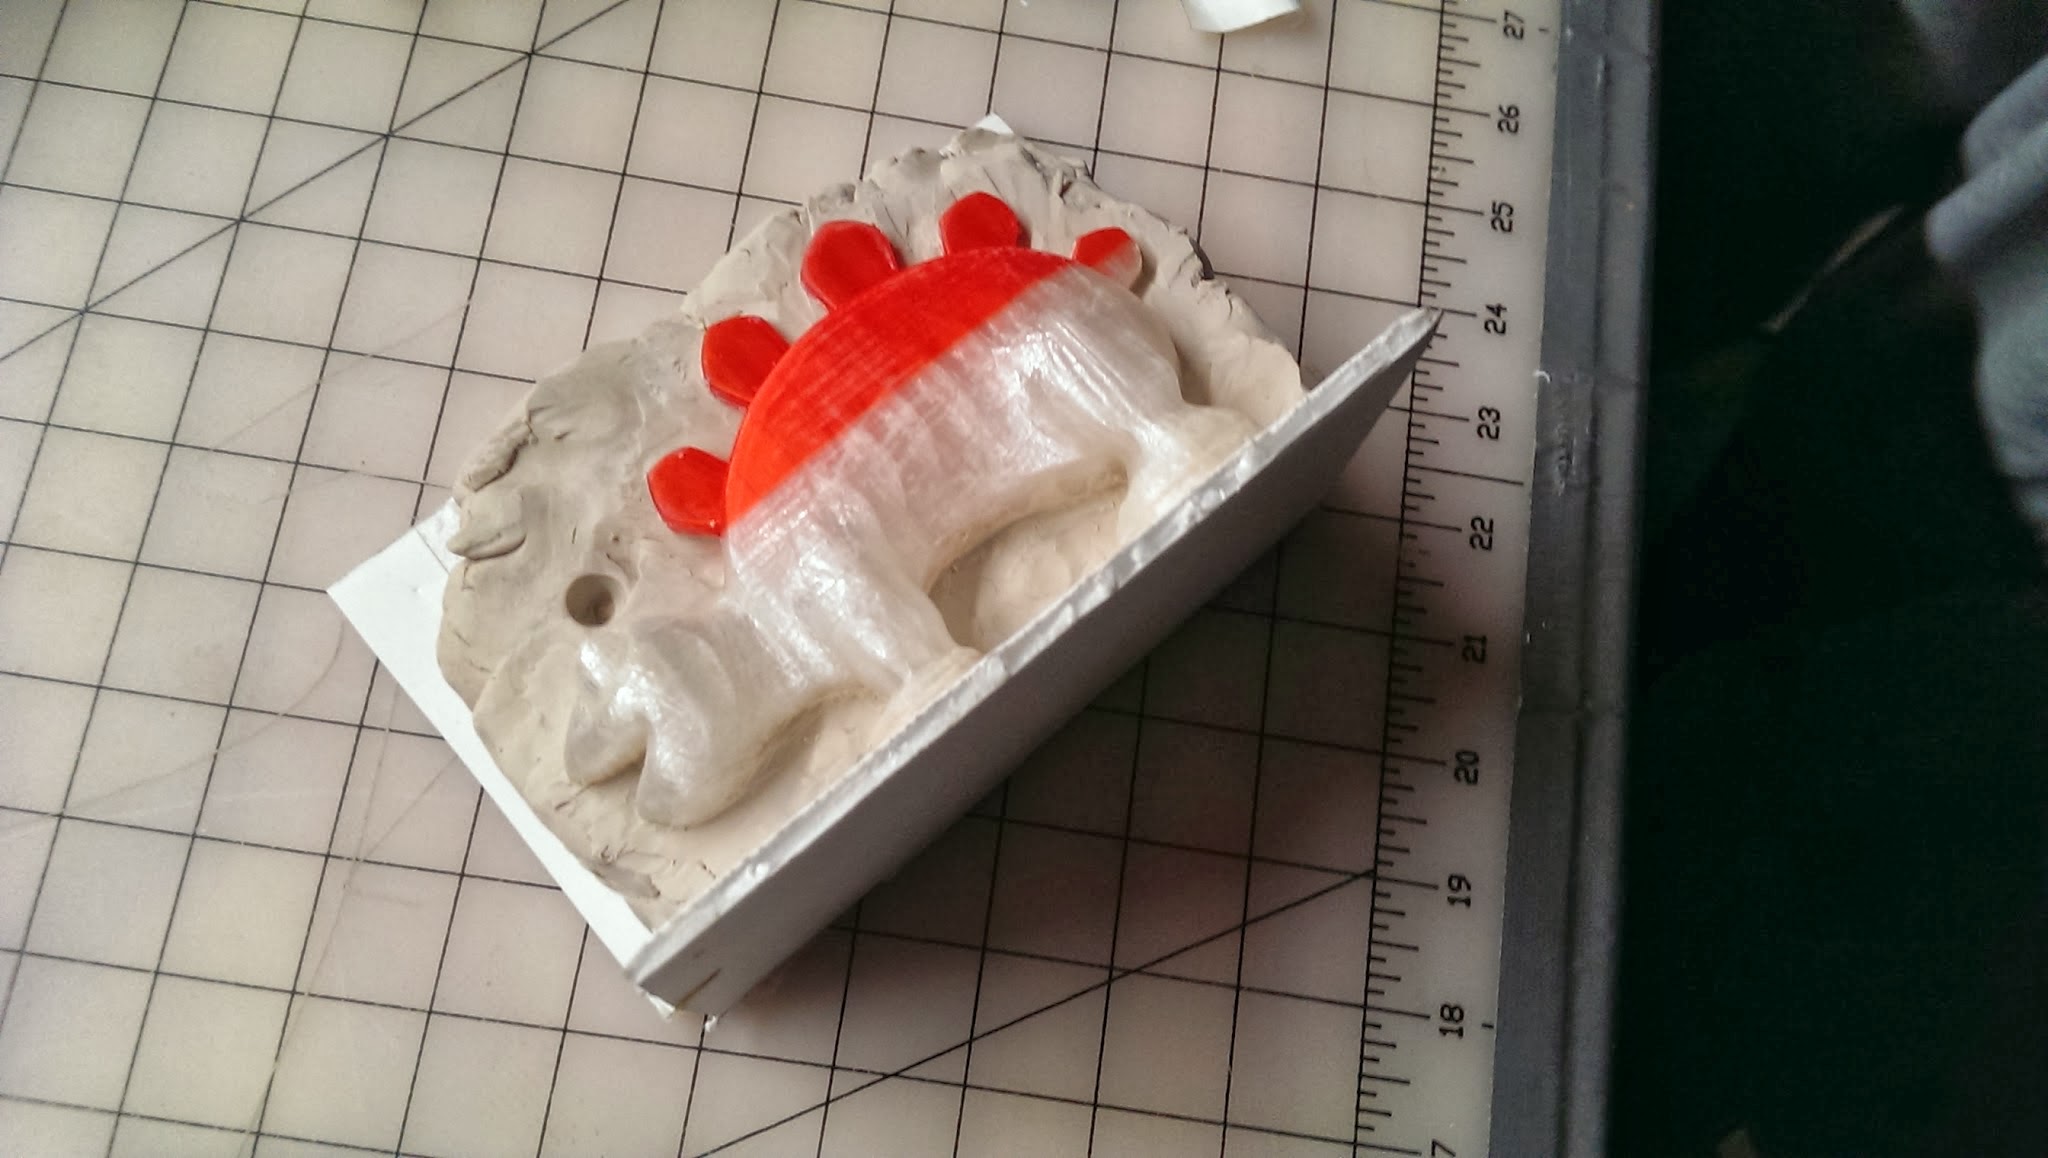
Measure out your silicone according to the instructions. Be sure to spray the original and inside of the box with mold release. I use Stoner’s brand – $14 dollars for a can and it lasts me for a bit. The mold release will help keep the silicone from sticking.

Below, we pour the silicone in. We pour from up high to stretch out the stream and reduce bubbles.
Let that side cure for however long your silicone says. 14nv takes about 4 hours. Next, turn it over, remove the foam core that used to be on the bottom. Remove foil/clay and make sure to clean it nicely. Spray with mold release again and then do the other side. I have no good pics for this step.
When your mold is cured, be sure to check for any areas of your mold where air bubbles might get trapped. For instance, with the Steakosaurus there were air bubbles on the bottom of the chin. I cut a little v shaped groove to allow air to flow through. Also cut out some pieces of wood to put on each side to stabilize and use a belt or something to clamp it together nicely. Spray some mold release before each cast!
Next, mix up what you want to cast. I’ve done a few different materials including foam which is real fun but has some nasty fumes. I will make a tutorial on the foam in the future. For this example I am using a 1 to 1 low viscosity urethane. I use almost exclusively Smooth-On products. Smooth-On’s Smooth Cast series are my current favorite. http://www.smooth-on.com/Urethane-Plastic-a/c5_1120_1209/index.html?catdepth=1
The resin will heat up pretty quickly within a minute or so. You have to be quick working with it. Just measure it out on your scale in separate plastic cups, throw both into another cup and start mixing right away. You should use gloves and maybe even a mask if you want to be extra safe. Have your mold clamped and ready with mold release sprayed nicely inside. Carefully pour it in. I like to stop half way through and tilt it back and forth a bit.
Wait the allotted time as instructed by whatever brand of plastic you buy and carefully pull it out of the mold.
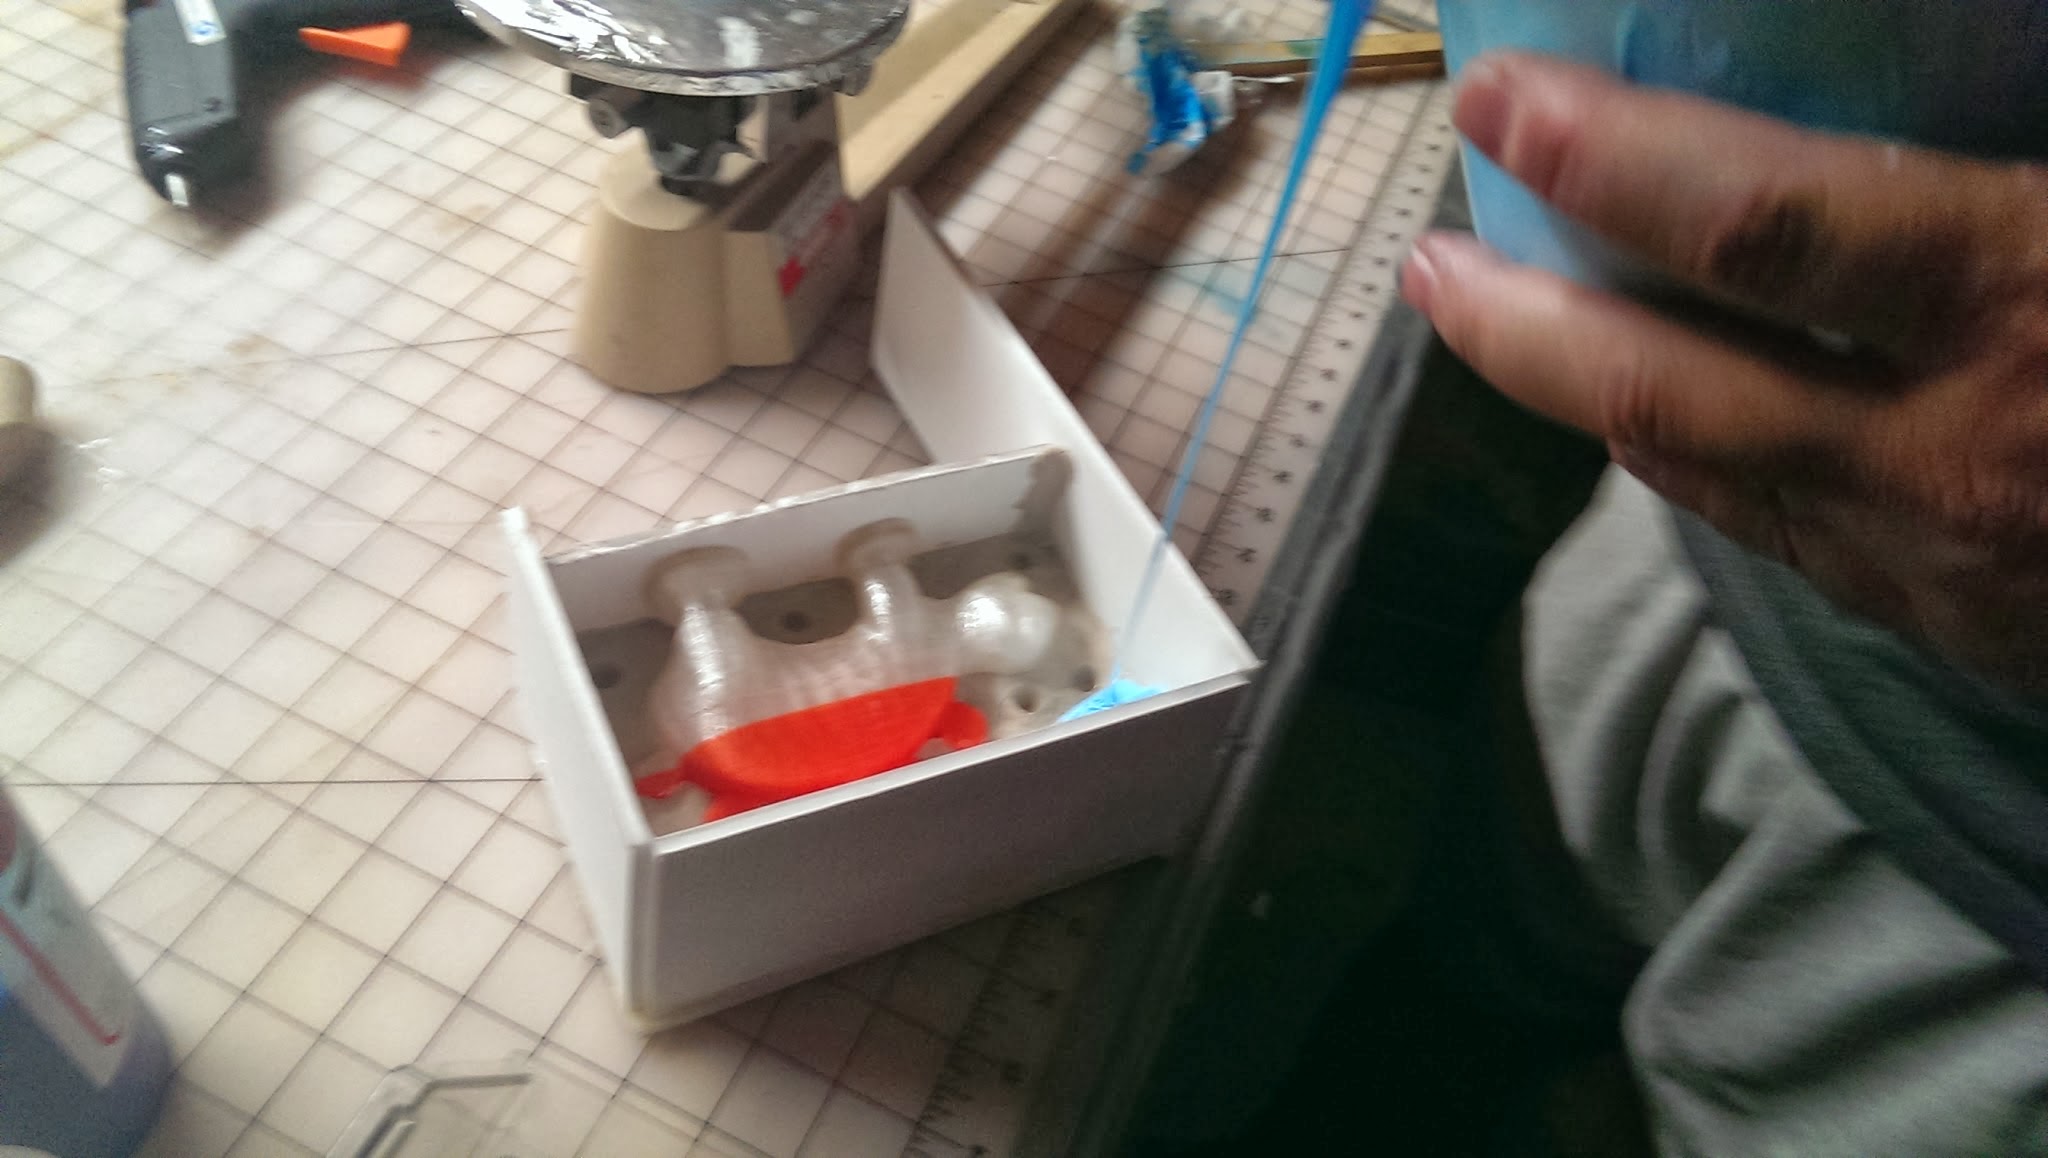
Always mix very carefully! Below, I wasn’t very careful and didn’t mix very thoroughly. I still have this guy sitting in a box and he is still gooey.
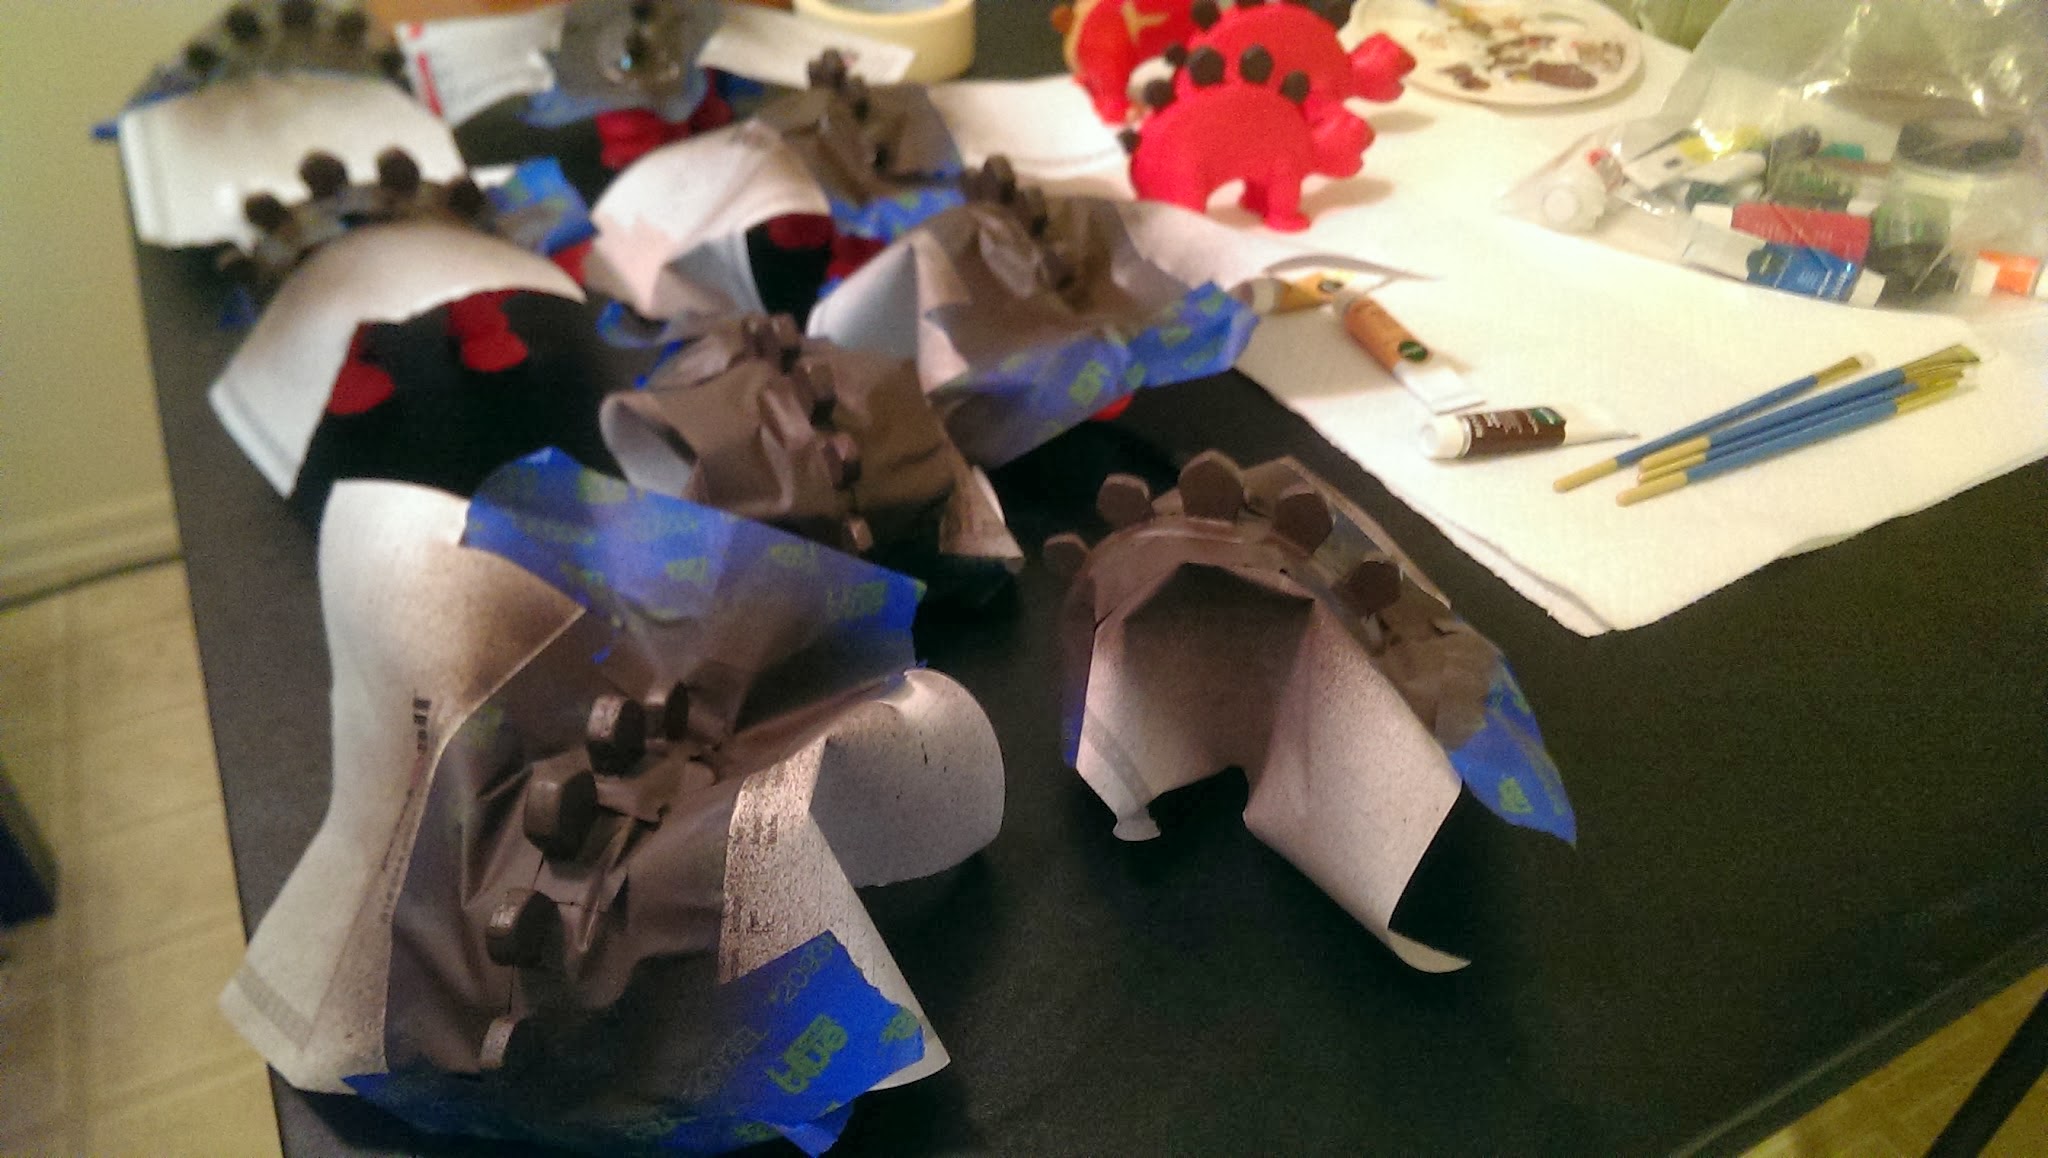
The rest is simple! Below is a pic of my painting process. I spray painted the base and the spine plates and hand painted the rest with acrylics. I may invest in an air brush in the future.
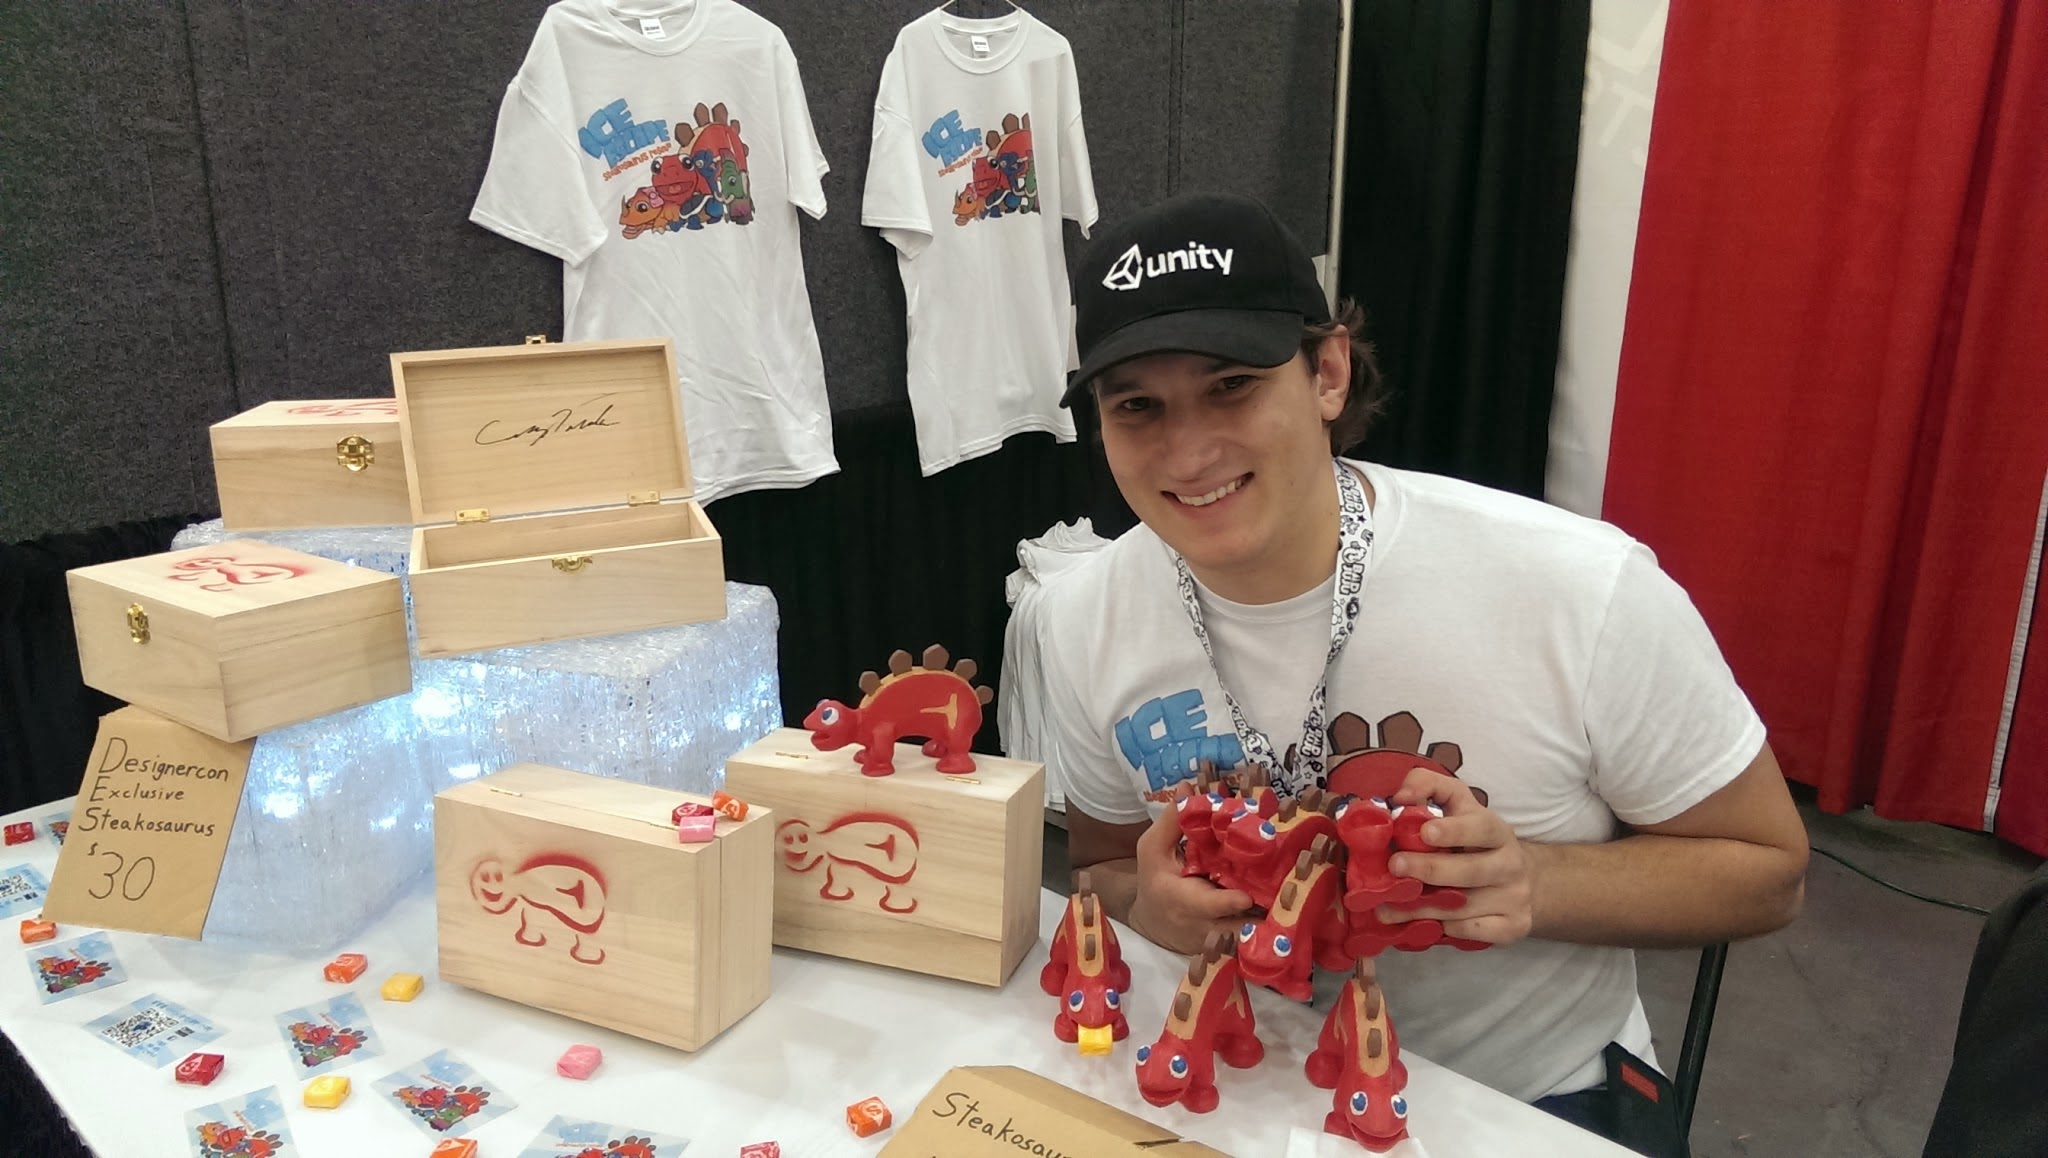
Me selling at Designercon in Pasadena
My first sale!

As always, if you have any further questions or I got something wrong and need to correct me, please email! crydrk@sbcglobal.net
0 Comments
1 Pingback