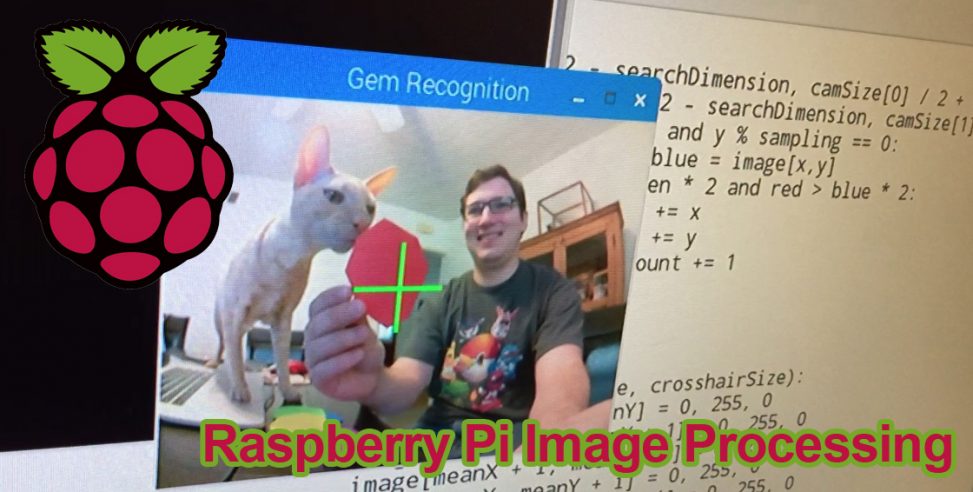
I worked on a project where I needed to make a Raspberry Pi camera recognize colored gems placed in front of it. This is my first time working with a Pi. The following is notes from my time troubleshooting the surprisingly difficult task of making the camera work.
I started here with basic tutorials accessing pixels in an image using the imgproc library: http://www.cl.cam.ac.uk/~db434/raspi/image_processing/
I modified the code to simply read an average of the pixels in x/y center of the screen. I also had a sample modifier so it didn’t look at every pixel in the area. I created a list of lists holding rgbcym and background average. Each list holds the trained value and the ideal value. I added a trainer feature so I could populate the array with the average color of the gem in the specific lighting environment, as only under extremely ideal conditions will it work looking at the pure value. The second array holds the ideal color for debugging purposes, showing on the screen what the pi *thinks* it is seeing.
http://pastebin.com/9nrCJwUy
But first, the camera needs to work. I used a camera connected via the CSI port.
Here are some terminal commands in no particular order to help in setting this up:
vcgencmd get_camera <- Gets the connected cameras. It will return the number of supported and detected cameras.
sudo raspi-config <- Opens the configuration menu. Cameras may not be enabled by default. Navigating to interfacing options -> camera will allow you to enable it.
sudo apt-get install <- “Advanced Packaging Tool” used for installing software packages from online
sudo apt-get update <- Downloads, but doesn’t install, latest versions of all your installed software packages
sudo apt-get upgrade <- Installs latest versions of your software packages
sudo modprobe <- Loads software packages (ie sudo modprobe bcm2835-v4l2 to load camera stuff)
I needed to use guvcview to modify the auto exposure. This was a complicated process and only temporary until camera is disconnected. Please leave a comment if you know a better way.
sudo apt-get install guvcview
sudo apt-get install uvcdynctrl
This discussion was great help in troubleshooting this problem: https://github.com/guysoft/OctoPi/issues/87
Some important takeaways from the above discussion:
@mhdshameel You need to use the exact name of the control. In my case this was "Focus, Auto". You can see a list of controls by calling uvcdynctrl -d /dev/video0 -c |
Example usage: uvcdynctrl -g “Auto Exposure” Note: Quoted text will vary based on camera
I got sick of resetting this every time I opened and decided to use a different library entirely to have more control. Picamera is great. I send the picamera out into a stream into a numpy array and use the array in the same way as the original tutorial. The numpy array is actually backwards, having lists of rows. Those rows contain tuples (or lists, not sure) of the pixel information. So iterating through gives you Y first. Here is the documentation regarding taking info from the picamera stream:
http://picamera.readthedocs.io/en/release-1.10/recipes1.html
And here is the current code as of writing this post:
Bonus info:
Here is how to set up the usb to audio out component I use:
http://raspberrypi.stackexchange.com/questions/3626/how-to-get-better-audio-quality-from-audio-jack-output

I have installed uvcdynctrl and am able to control camera settings like brightness, saturation, contrast, sharpness and exposure in my Raspberry pi running Rasbian.
I have installed guvcview and executed the other commands. But if I try to set or get the focus settings I get an error like
“Unknown control specified”
Do you have any suggestions?
Thanx.